Say Goodbye to Runny Coconut Whipped Cream: Expert Tips for a Fluffy Finish
Are you tired of making **homemade coconut whipped cream** only to have it collapse into a sad, watery mess? You’re not alone. While the idea of a light, fluffy, dairy-free topping is incredibly appealing, achieving that perfect, stable consistency can sometimes feel like a culinary challenge. But what if we told you that the secret to a perfectly airy, shape-holding, and utterly delicious vegan whipped cream is not only attainable but surprisingly simple?
This comprehensive guide will walk you through expert tips and tricks, transforming your kitchen struggles into whipped cream triumphs. Whether you’re topping summer berries, a holiday pie, or a warm mug of cocoa, our methods will ensure your plant-based whipped cream holds its shape and tastes incredible, every single time. Get ready to banish those runny woes and embrace the creamy perfection of properly made **homemade coconut whipped cream**! If you're ready to dive even deeper into perfecting your plant-based dessert game, be sure to check out our comprehensive guide on
How to Make Perfect Coconut Whipped Cream: Dairy-Free & Fluffy.
The Foundation of Fluff: Choosing the Right Coconut Cream
The journey to perfect **homemade coconut whipped cream** begins long before you even open the can. The type of coconut product you choose is paramount, and this is where many aspiring chefs inadvertently go wrong.
- Full-Fat Coconut Cream is Non-Negotiable: This is the absolute cornerstone of a successful whipped cream. You need the thick, solid cream that separates from the liquid when chilled. Do not confuse it with "cream of coconut," which is often sweetened and used for cocktails, or "coconut milk," which has a higher water content and won't yield the same firm separation.
- Scrutinize the Ingredients List: Always opt for brands that list only "coconut" or "coconut and water" as ingredients. Avoid cans that contain gums, emulsifiers (like guar gum or carrageenan), or other stabilizers. While these additives might seem beneficial, they can actually prevent the coconut fat from solidifying properly, leading to a gritty or soupy texture that simply won't whip. Consistency is key, and simpler is better here.
- "Lite" Versions are a No-Go: Just as with regular dairy cream, fat is essential for achieving that airy, stable texture. "Lite" or reduced-fat coconut creams contain too much water and not enough fat to whip up properly. Save them for curries, not for dessert toppings.
**Pro Tip:** If you can't find dedicated "coconut cream," a high-quality, full-fat coconut milk (specifically Asian brands tend to be richer) can work, provided it separates well when chilled. The key is that thick, solid layer of cream at the top.
Sweeteners and Flavor Enhancers
Once you've secured the ideal coconut cream, it's time to add character.
- Maple Syrup: A popular choice for its refined sugar-free profile and delicate flavor that complements coconut beautifully. It adds sweetness without overpowering.
- Other Sweetener Options:
- Honey: Another natural liquid sweetener, offering a distinct taste.
- Monk Fruit or Erythritol: For a truly sugar-free option, these work well.
- Powdered Sugar (Confectioners' Sugar): While not refined sugar-free, a small amount of powdered sugar can help stabilize the whipped cream, especially if you live in a warmer climate or want it to hold its shape for longer. The cornstarch often found in powdered sugar aids in structure.
- Vanilla Extract: Essential for adding warmth, depth, and that familiar whipped cream flavor. Use a good quality pure vanilla extract for the best results.
- A Pinch of Salt: Often overlooked, a tiny pinch of fine sea salt is a game-changer. It enhances the sweetness of the other ingredients and provides a subtle balance, preventing the cream from tasting bland.
Mastering the Chill: The Secret to Separation
Chilling isn't just a suggestion; it's a critical step that determines the success of your **homemade coconut whipped cream**.
- Undisturbed Refrigeration: Place your can of full-fat coconut cream (or coconut milk) in the refrigerator for at least 8-12 hours, or ideally, overnight. *Do not shake or disturb the can* during this time. The goal is for the dense coconut fat to rise to the top and solidify, completely separating from the thinner coconut water at the bottom.
- The Colder, The Better: For optimal results, go beyond just chilling the can. Place your mixing bowl (preferably a metal one) and your electric beaters or whisk attachment in the freezer for 10-15 minutes before you begin whipping. Cold tools help keep the coconut fat solid during the whipping process, allowing it to emulsify and aerate more effectively. This is a trick often used in professional kitchens for dairy whipped cream, and it works wonders for its vegan counterpart.
- Opening the Can: When ready, carefully open the chilled can *without shaking it*. You should see a thick, solid layer of cream at the top. Gently scoop this hardened cream into your chilled mixing bowl, leaving the clear liquid behind. Reserve this liquid; it’s excellent for smoothies or as a thin-down agent if your whipped cream becomes too thick.
Whipping Wonders: Techniques for Perfect Peaks
Once you have your chilled cream and tools, the actual whipping process is straightforward, but technique matters.
- Start Slow, Then Increase Speed: Begin beating the solid coconut cream on low to medium speed with your electric hand beaters or stand mixer. This will help break down the larger chunks and create a smooth base.
- Incorporate Flavor: Once the cream is smooth and lump-free, add your chosen sweetener (maple syrup, powdered sugar, etc.), vanilla extract, and that crucial pinch of fine sea salt.
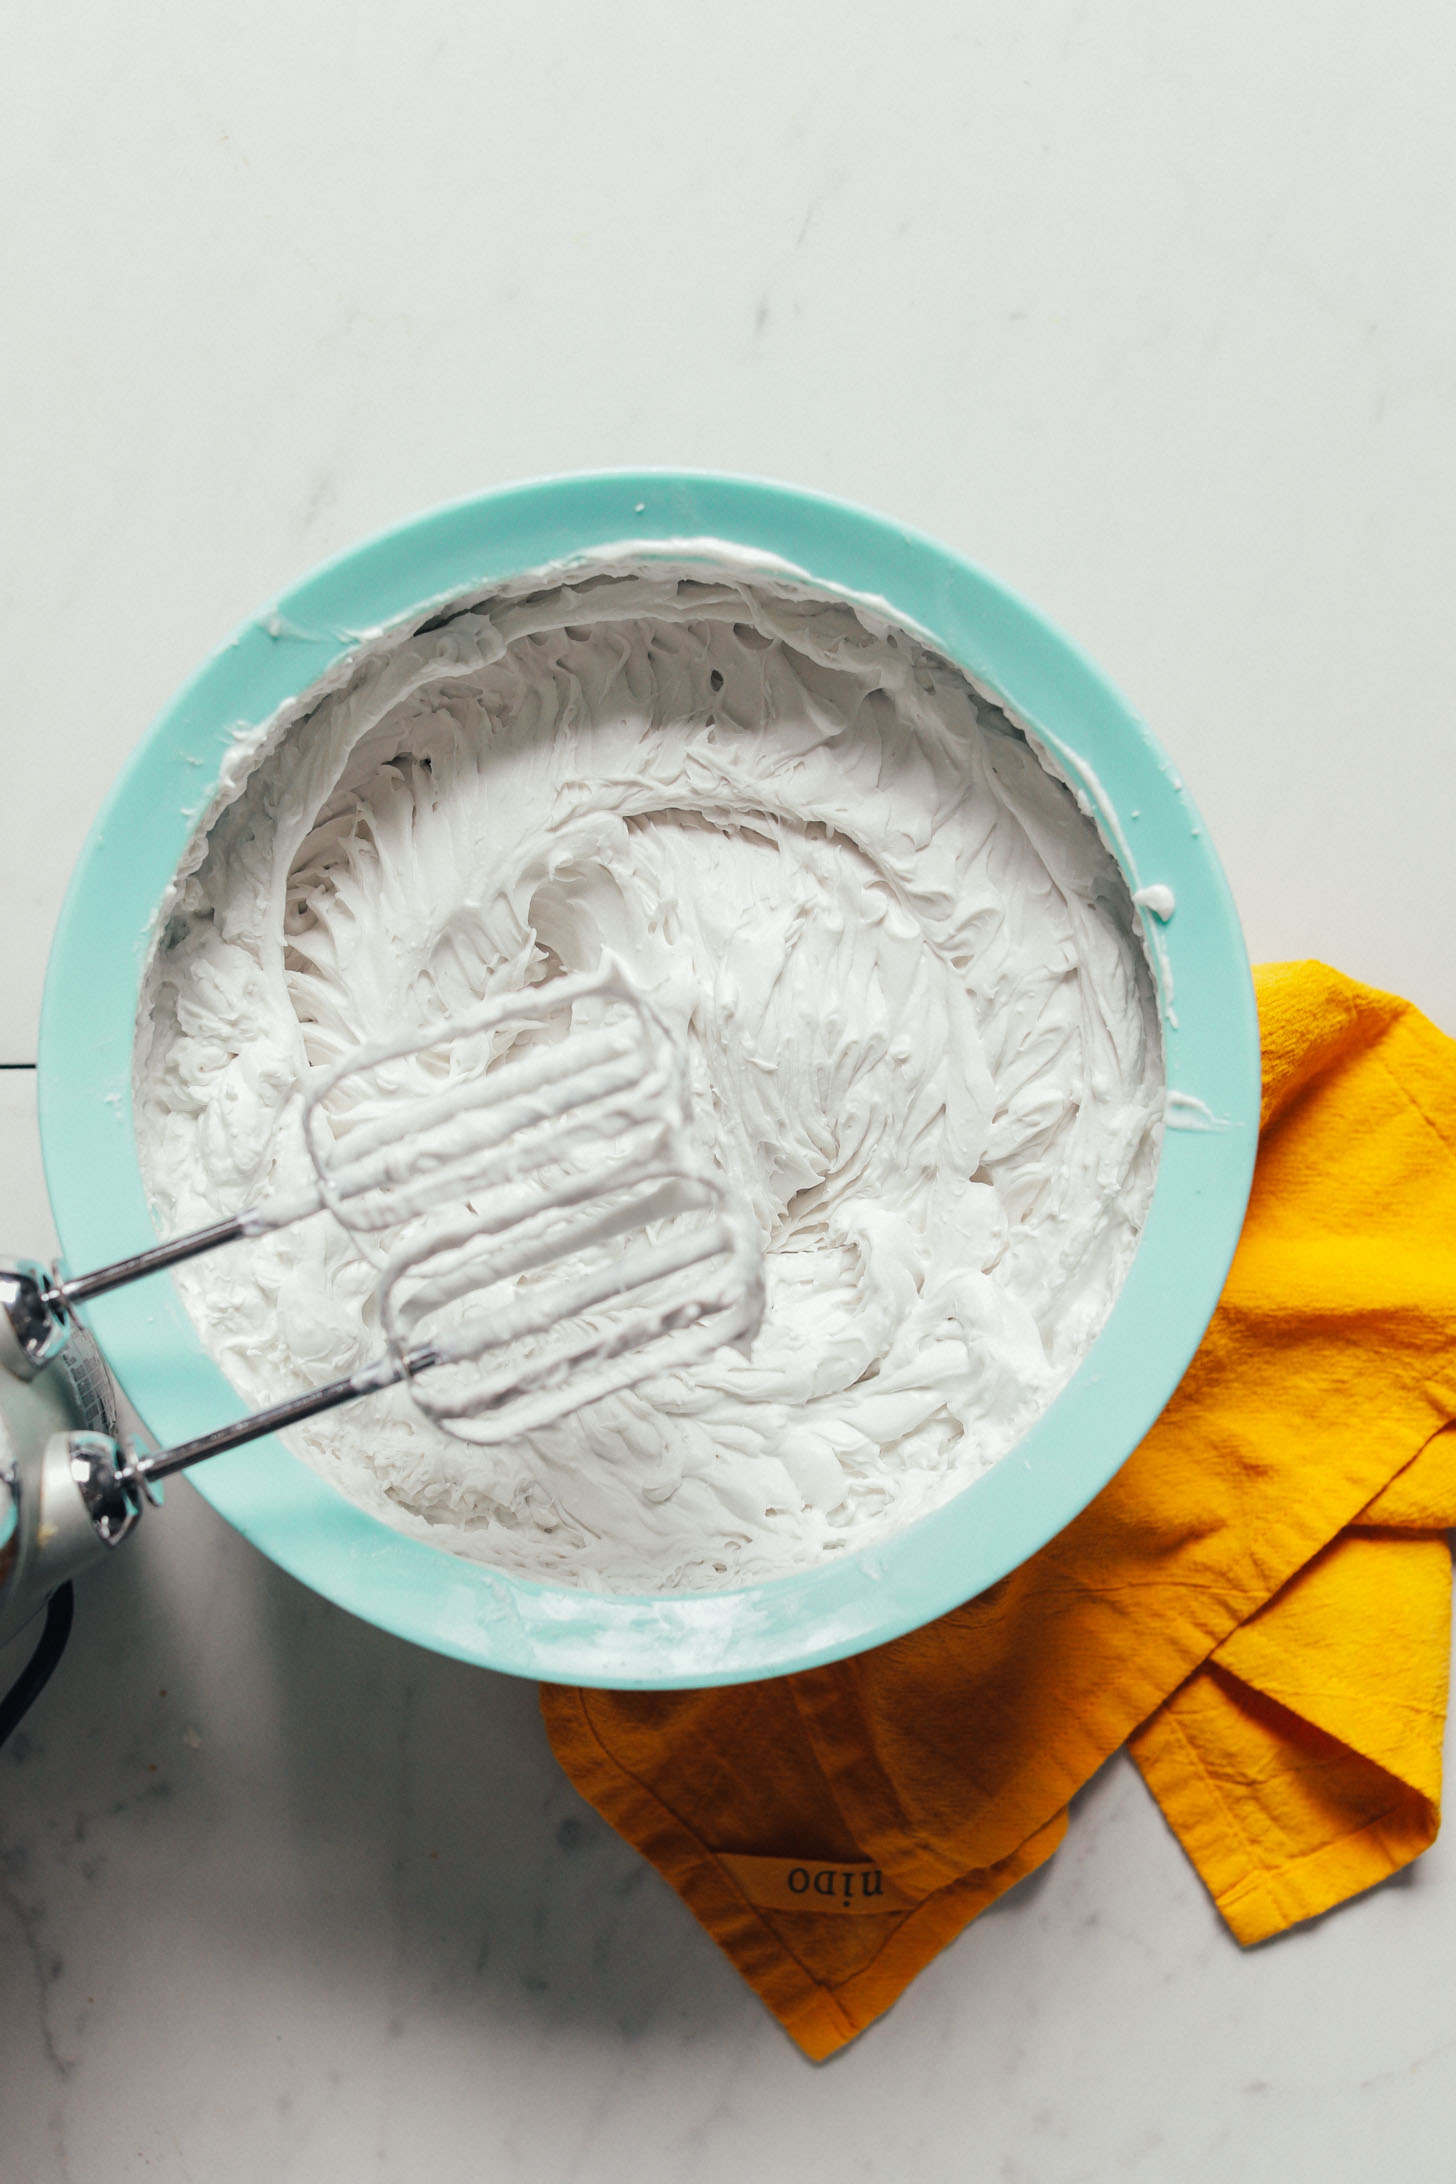
- Whip to Perfection: Increase the speed to high and continue beating. You'll notice the cream becoming lighter, airier, and increasing in volume. Beat until light, fluffy, and stiff peaks form. Stiff peaks mean that when you lift the beaters, the peaks stand straight up without collapsing. This usually takes 3-5 minutes, depending on your mixer and the cream's temperature.
- Avoid Overbeating: Be careful not to overbeat your **homemade coconut whipped cream**. Just like dairy cream, it can start to break down and become grainy or separate into a buttery consistency if whipped for too long. Stop as soon as you reach firm, fluffy peaks.
- Adjusting Consistency: If your whipped cream feels too thick after whipping, add a small splash (start with a teaspoon) of the reserved coconut liquid from the can. Beat briefly to incorporate, then check consistency. Repeat if necessary, but add slowly to avoid making it runny.
That’s it! Your perfect, stable **homemade coconut whipped cream** is ready for immediate enjoyment. Spoon it onto pies, swirl it into hot cocoa, dollop it over fresh fruit, or use it as a delightful topping for any dessert. For a quick and delicious option that's ready in minutes, explore our
Vegan Coconut Whipped Cream: 5-Minute Recipe for Any Dessert.
Troubleshooting Your Coconut Whipped Cream: From Soupy to Sublime
Even with the best intentions, sometimes things don't go exactly as planned. Here are common issues and how to fix them, ensuring your **homemade coconut whipped cream** is always a success.
- "Why is My Coconut Cream Soupy or Watery?"
- You Used the Wrong Product: The most common culprit! You likely used coconut milk instead of full-fat coconut cream, or a "lite" version, or a product with emulsifiers. Go back to basics: pure, full-fat coconut cream with minimal ingredients.
- Insufficient Chilling: The cream wasn't cold enough to solidify properly. Place the can back in the fridge (or even the freezer for 30 minutes, keeping a close eye on it) and ensure your bowl and beaters are also well-chilled.
- Not Enough Fat: Some brands simply have less fat content, even if labeled "full-fat." Experiment with different brands to find one that consistently yields a thick cream layer.
- "My Whipped Cream is Gritty or Grainy."
- Overbeating: This is a common issue. Once the cream forms stiff peaks, stop whipping immediately. Overbeating can cause the fat molecules to separate and clump, resulting in a grainy texture. While it might not be perfectly smooth, it's still edible and can be used in smoothies or as a spread.
- Warm Ingredients: If the cream or tools warmed up during the process, it can also contribute to a grainy texture.
- "It Just Won't Fluff Up!"
- Still Too Warm: If the cream feels soft or somewhat liquidy, it's simply not cold enough for the fat to become stable. Return it to the fridge or freezer.
- Emulsifiers: Check your can's ingredient list again. Gums and emulsifiers are notorious for preventing proper whipping.
- Patience: Sometimes it just takes a few extra minutes of whipping, especially if your cream is slightly less firm. Keep going, ensuring your tools and environment are cold.
**Rescue Mission for Runny Whipped Cream:** If your whipped cream remains stubbornly liquid, don't despair! While it won't be airy, you can still use it. Try blending it with a little more solid coconut cream (if available) or powdered sugar in a food processor for a thicker, pudding-like consistency. It can also be repurposed into smoothies, dairy-free puddings, or even frozen into ice cream bases.
Beyond the Bowl: Creative Ways to Enjoy Your Perfect Whip
The beauty of **homemade coconut whipped cream** lies not just in its deliciousness but also in its incredible versatility.
- Classic Dessert Topping: The obvious choice! Dollop generously over fresh berries, fruit tarts, chocolate chia pudding, apple crumble, pumpkin pie, or any dessert that calls for a creamy finish.
- Beverage Bliss: Swirl a generous amount into hot cocoa, iced coffee, or even a chai latte for a luxurious, dairy-free upgrade.
- Breakfast Booster: Elevate your morning routine by adding a dollop to pancakes, waffles, overnight oats, or a fruit parfait.
- Savory Counterpart: While primarily a dessert item, a subtly sweetened or unsweetened coconut whip can even be paired with certain savory dishes, like a spicy fruit salsa alongside grilled fish.
- Flavor Variations:
- Chocolate: Sift in a tablespoon or two of unsweetened cocoa powder during the whipping process.
- Citrus Zest: Add fresh lemon or orange zest for a bright, refreshing twist.
- Spices: A pinch of cinnamon, nutmeg, or cardamom can add a warming, aromatic touch, especially during cooler months.
- Espresso: A small amount of instant espresso powder can deepen the flavor and add a subtle coffee kick.
With these expert tips and a little practice, you'll be creating stable, dreamy **homemade coconut whipped cream** that rivals any dairy version. It's a game-changer for anyone looking for a dairy-free, vegan, or naturally sweetened topping that doesn't compromise on taste or texture.
Embrace the simplicity and deliciousness of a perfectly made coconut whipped cream. By paying close attention to your ingredients, mastering the chilling process, and employing the right whipping techniques, you can confidently say goodbye to runny disappointments and hello to luscious, fluffy perfection every time. Your desserts (and your taste buds!) will thank you.